Custom Menu
Register Custom Menus
There are two common modes for registering custom menus:
- Register a new menu item
- Registers a submenu with existing menu items
OpenSumi provides the ability to customize menus based on OpenSumi Contributionmechanism, to implement MenuContribution and call the methods provided by menuRegistry.
interface MenuContribution {
  registerMenus?(menus: IMenuRegistry): void;
}

interface IMenuRegistry {
  // Register a new menu item
  registerMenubarItem(
    menuId: string,
    item: PartialBy<IMenubarItem, 'id'>
  ): IDisposable;
  // Register a submenu with existing menu items
  registerMenuItem(
    menuId: MenuId | string,
    item: IMenuItem | ISubmenuItem | IInternalComponentMenuItem
  ): IDisposable;
}
Register a New Menu Item
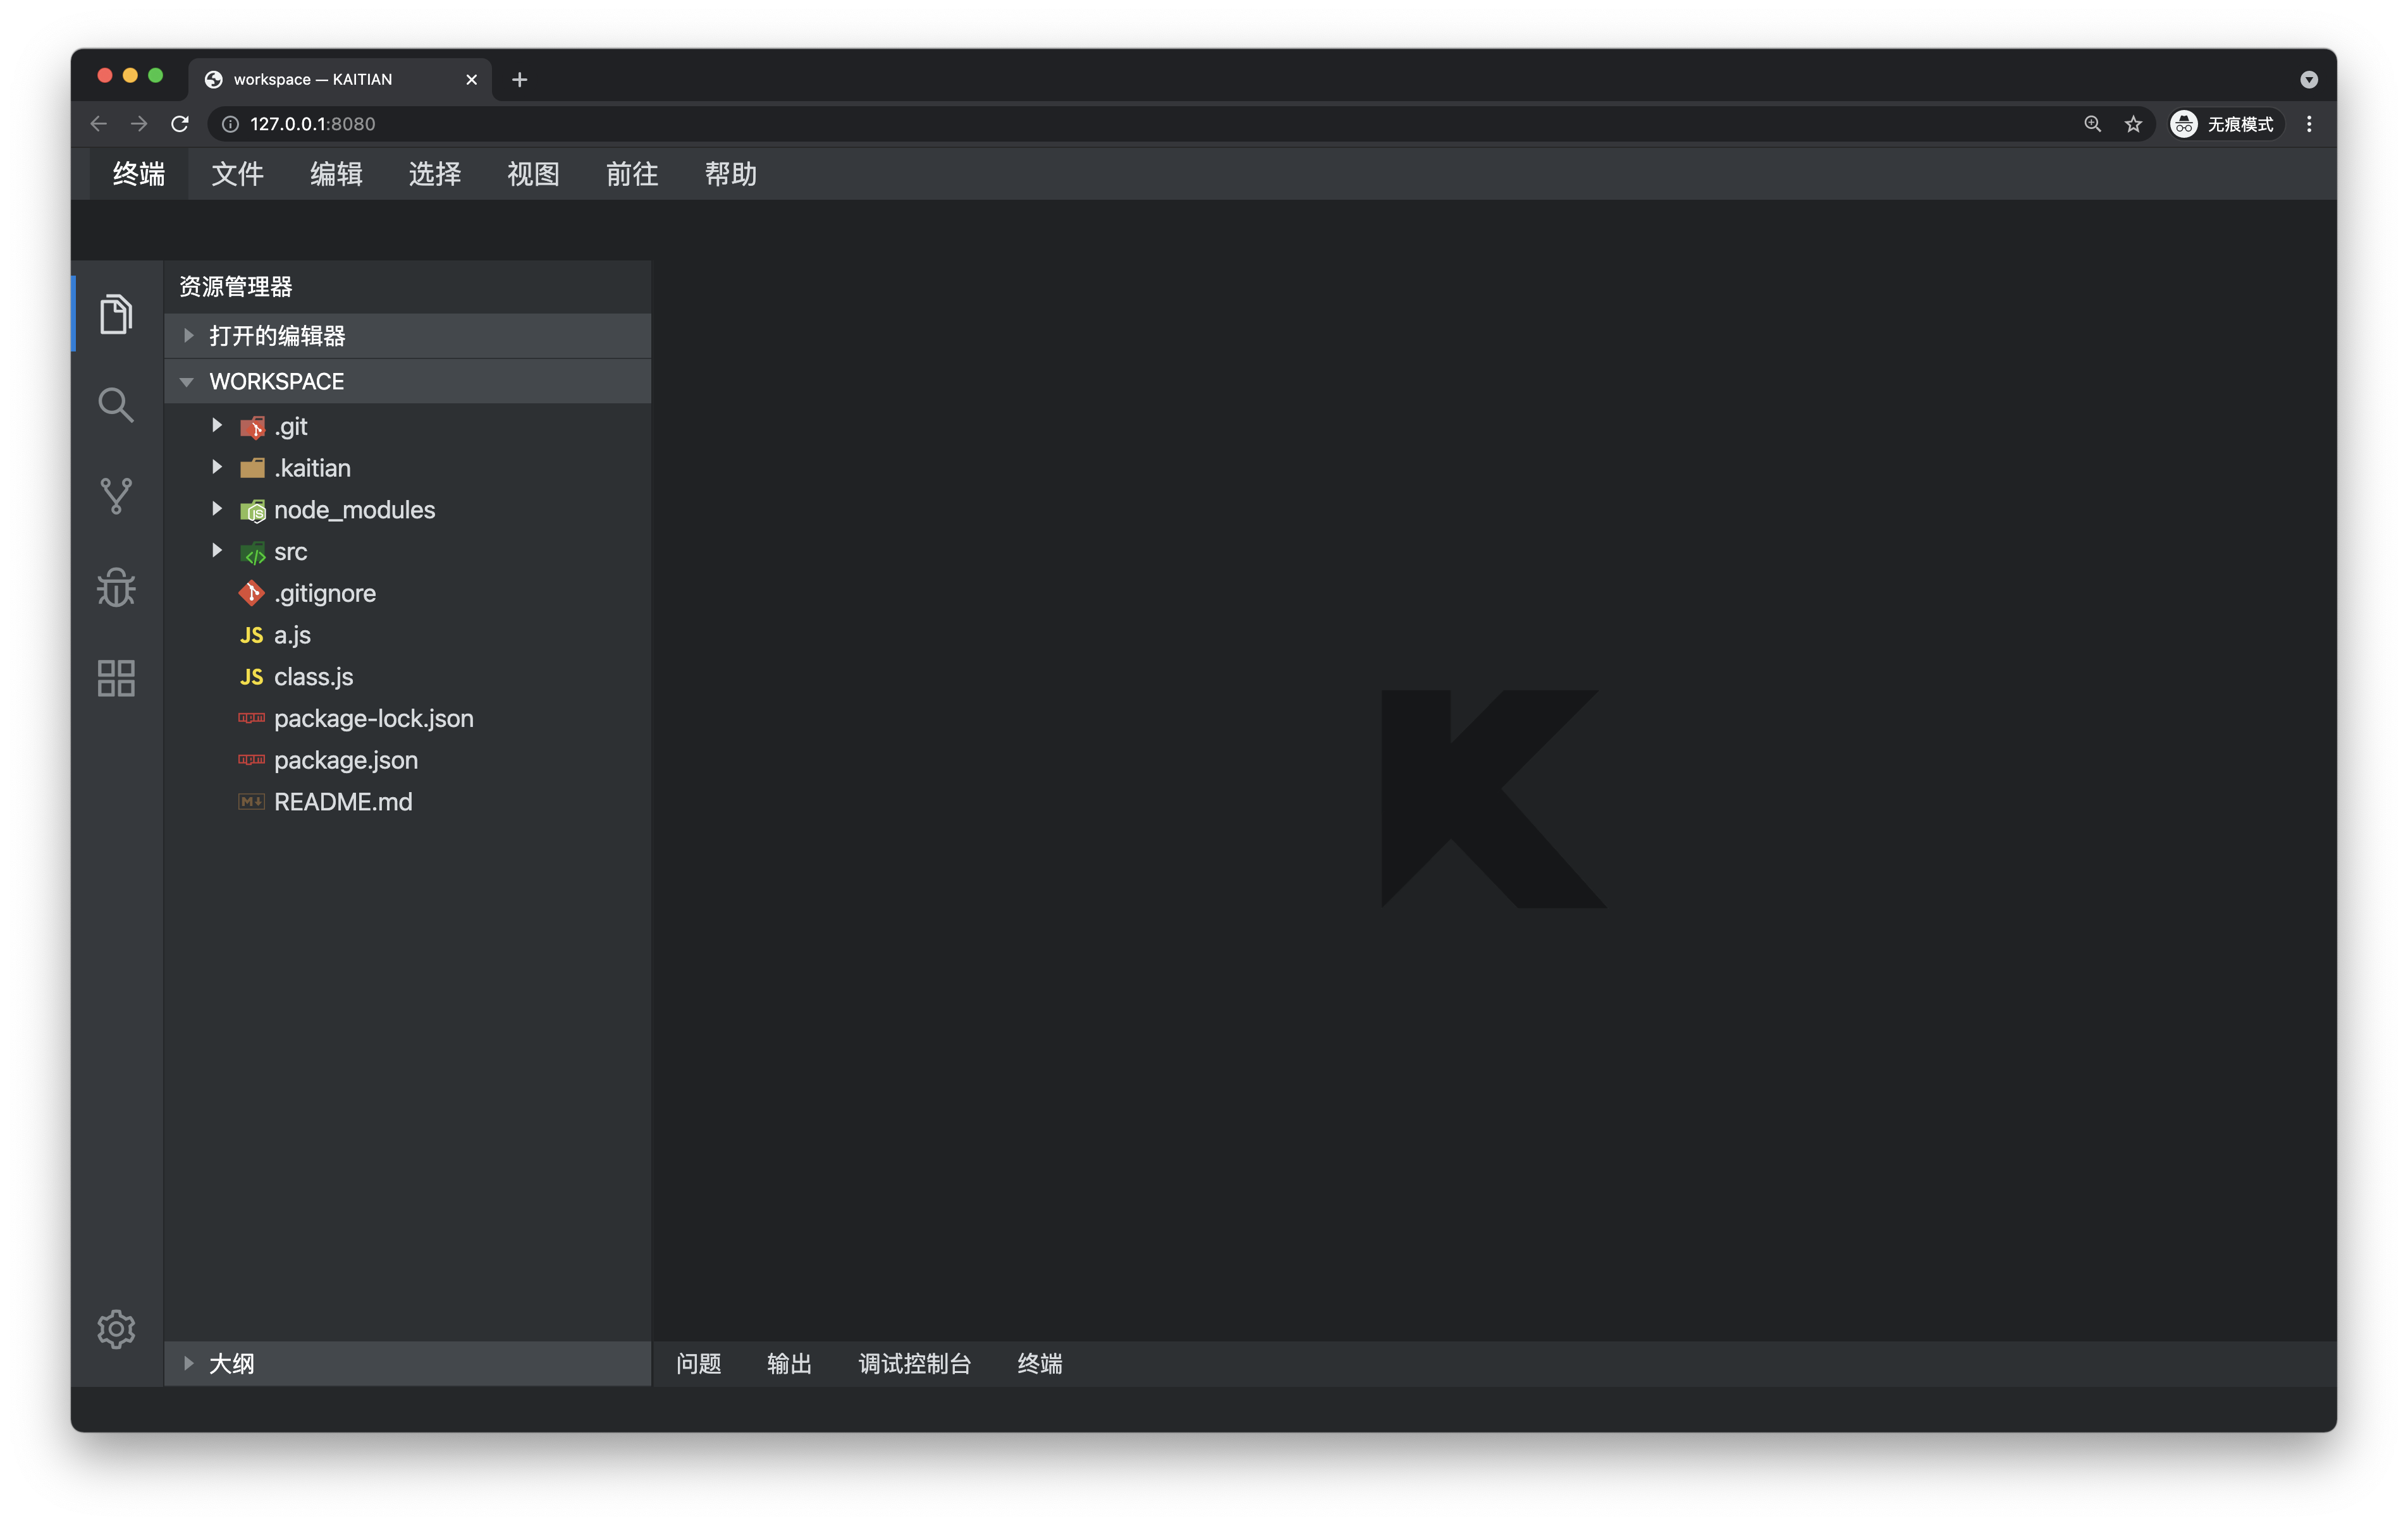
For example, if we want to register a new terminal menu item and hope it to be displayed in the first item, we call registry.registerMenuBarItem and pass order: 0 to indicate that it is positioned in the first item.
import {
  MenuContribution,
  IMenuRegistry,
  MenuId
} from '@opensumi/ide-core-browser/lib/menu/next';

const terminalMenuBarId = 'menubar/terminal';

@Domain(MenuContribution)
class MyMenusContribution implements MenuContribution {
  registerMenus(registry: IMenuRegistry) {
    registry.registerMenubarItem(terminalMenuBarId, {
      label: 'terminal',
      order: 0
    });
  }
}
Register Submenus Under Existing Menu Items
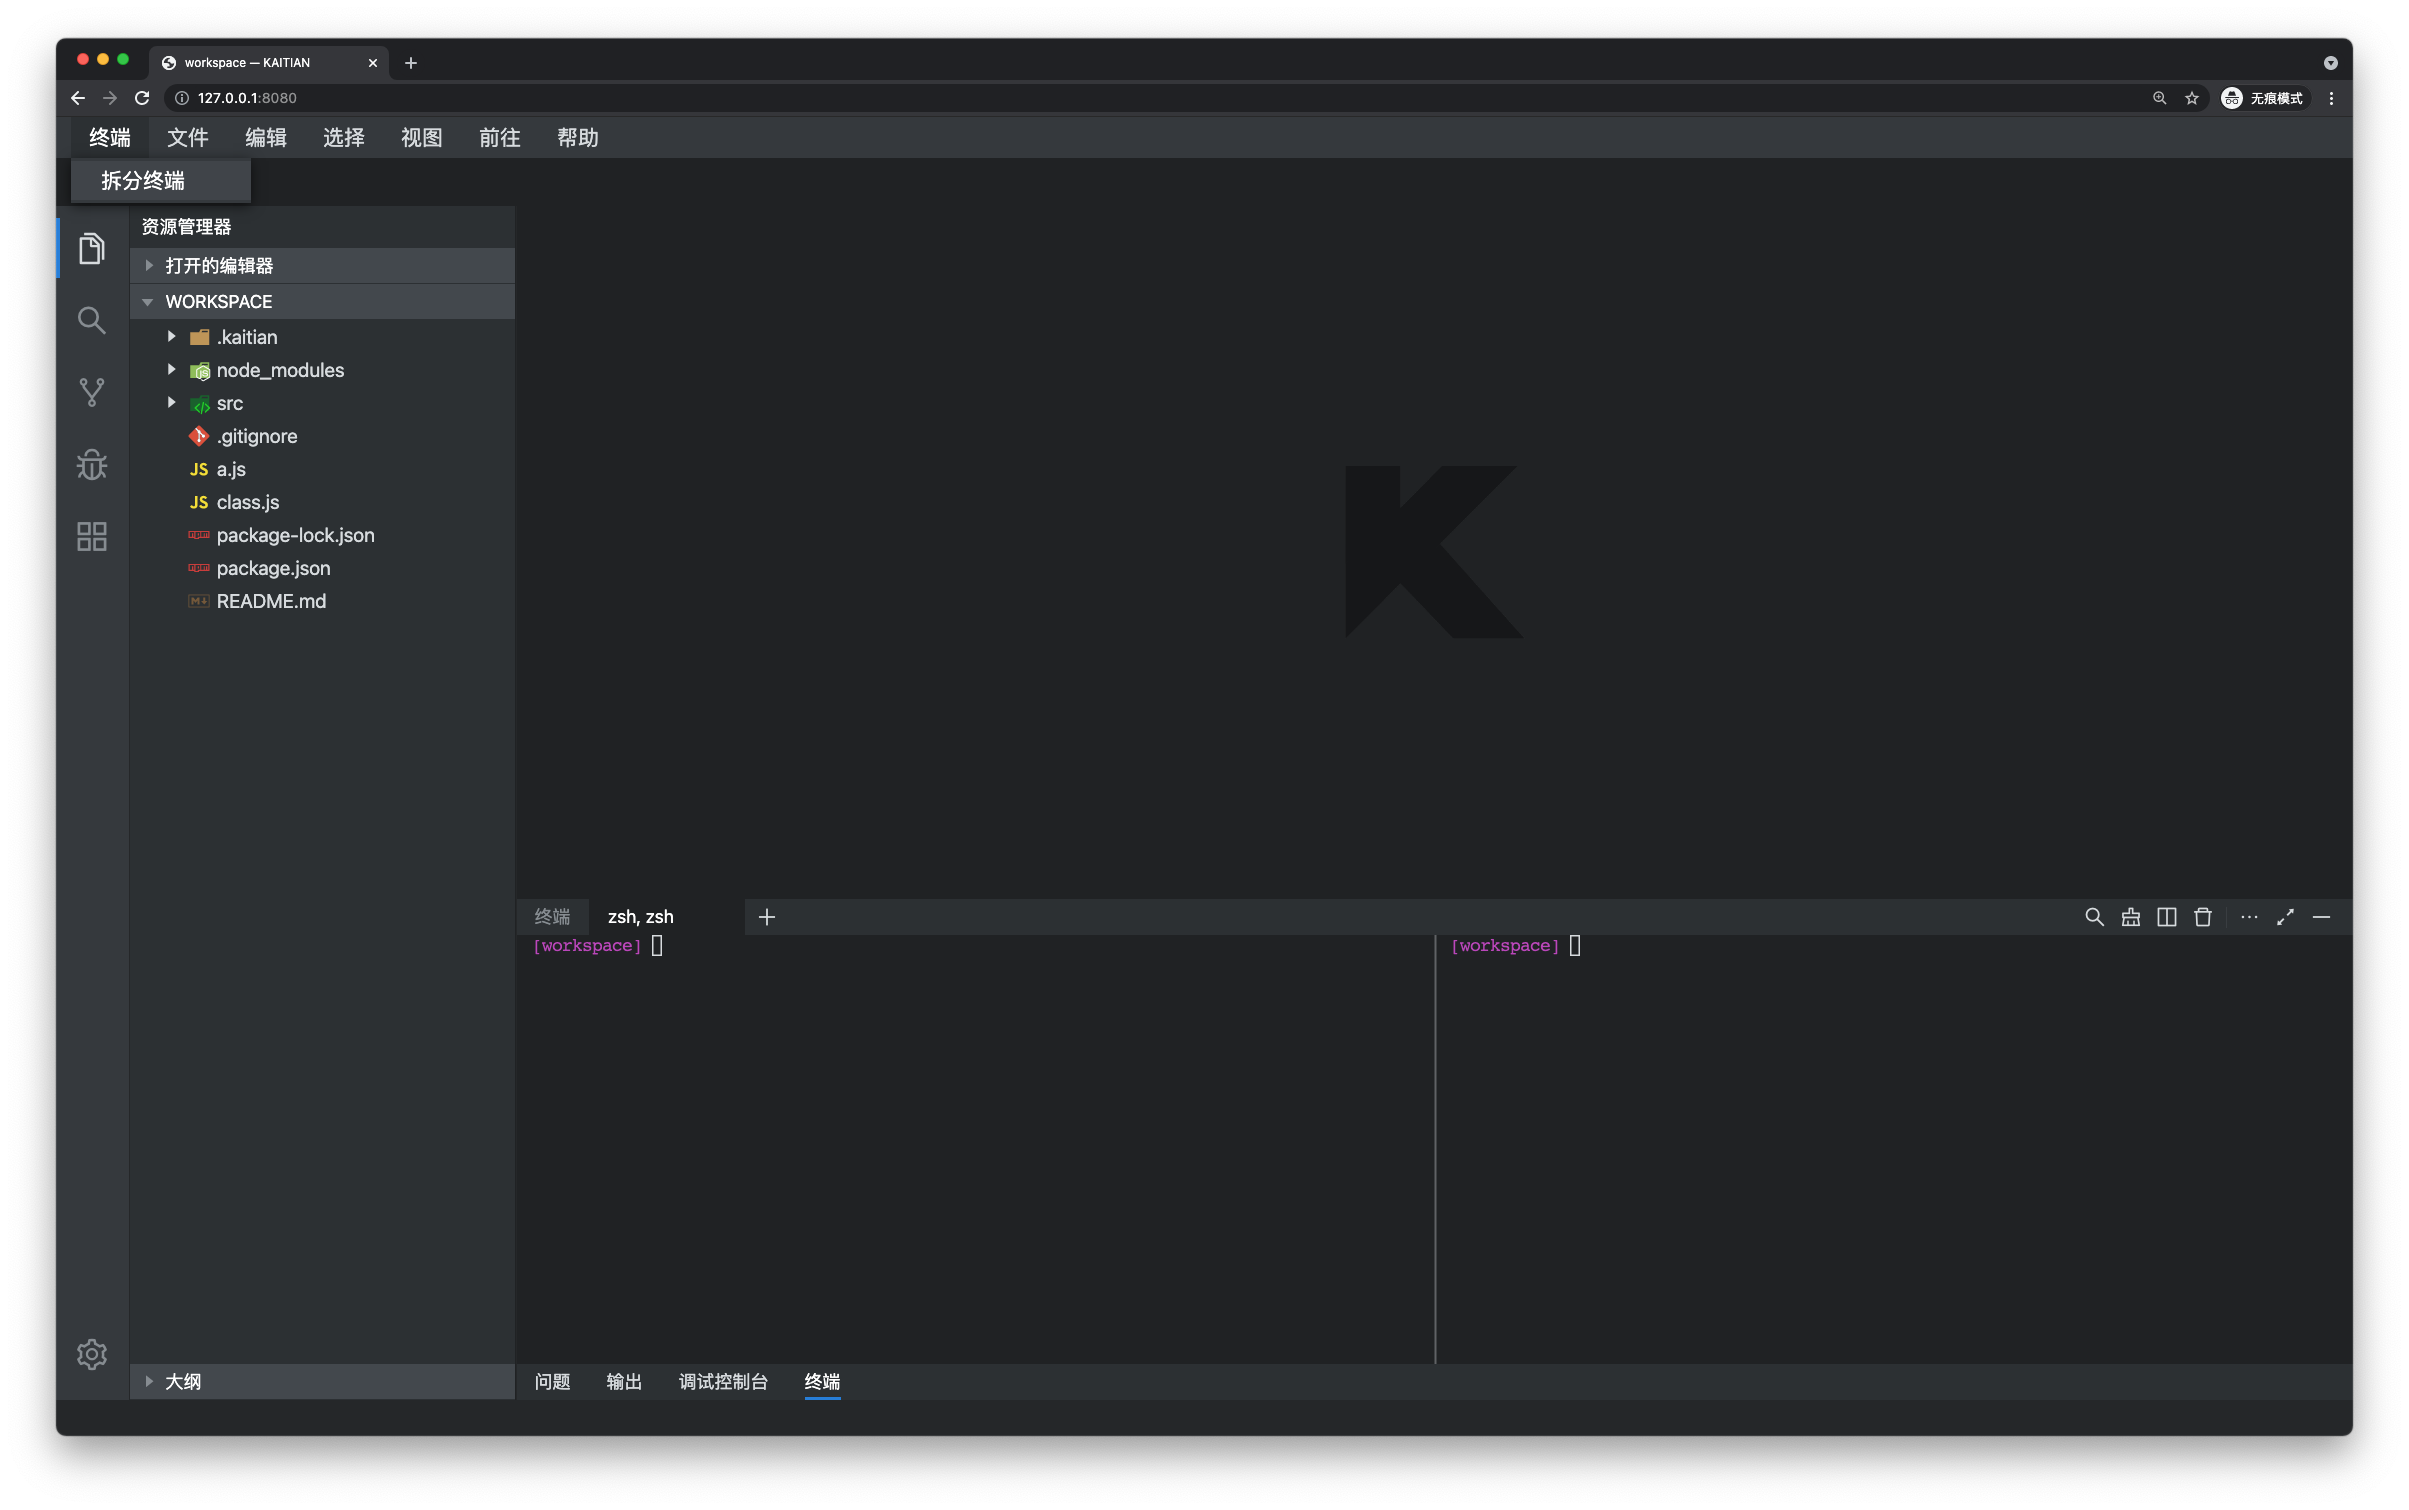
We register the terminal menu item as the first item in the menubar, but it doesn't have a submenu, and will not respond when you click it. We need to register a set of submenu for it. Call registerMenuItem of registry to register a single menu item, or you can use the registerMenuItems method to register multiple submenu items in bulk. The menu needs to perform some action after click. In this case we want to split the terminal after click. We need to bind a Command for it. Command can also be customized by implementing CommandContribution, where we use the built-in terminal.split command.
Note that by default the label of registered menubar items will not take effect, if the bound Command also specifies
labelproperty during registration.
registerMenus(registry: IMenuRegistry) {
  registry.registerMenubarItem(terminalMenuBarId, { label: '终端', order: 0 });

  registry.registerMenuItem(terminalMenuBarId, {
    command: 'terminal.split',
    group: '1_split',
  });
}
Submenu Grouping
When there are plenty of registered menus, we may hope to space out some submenus with similar actions from other menus. We can use the group property to group the submenus. Specifically, you can use the same group value for these similar actions menus. Here we use registry.registerMenuItems to register more submenus.
registerMenus(registry: IMenuRegistry) {
  registry.registerMenubarItem(terminalMenuBarId, { label: 'terminal', order: 0 });

  registry.registerMenuItems(terminalMenuBarId, [
    {
      command: 'terminal.split',
      group: '1_split',
    },
    {
      command: 'terminal.remove',
      group: '2_clear',
    },
    {
      command: 'terminal.clear',
      group: '2_clear',
    },
    {
      command: 'terminal.search',
      group: '3_search',
    },
    {
      command: 'terminal.search.next',
      group: '3_search',
    },
  ]);
}
Register the Secondary Submenu
For the same type of menu, apart from using group to group them, you can also register them as secondary submenu. When there are a good deal of submenus, you can use secondary menu can effectively improve the user experience. For example, we want to register both search and search next match as a secondary menu of search.
const searchSubMenuId = 'terminal/search';

registerMenus(registry: IMenuRegistry) {
  registry.registerMenubarItem(terminalMenuBarId, { label: 'terminal', order: 0 });

  registry.registerMenuItems(terminalMenuBarId, [
    {
      command: 'terminal.split',
      group: '1_split',
    },
    {
      command: 'terminal.remove',
      group: '2_clear',
    },
    {
      command: 'terminal.clear',
      group: '2_clear',
    },
    {
      label: 'search',
      group: '3_search',
      submenu: searchSubMenuId,
    },
  ]);

  registry.registerMenuItems(searchSubMenuId, [
    {
      command: 'terminal.search',
    },
    {
      command: 'terminal.search.next',
    },
  ]);

}
Unregistering Menus or Menu Items
OpenSumi also provides the functionality of unregistering menus or menu items. If you do not need certain buttons on the interface, you can unregister them.
core internally registers some menus in advance, such as Help, and also preconfigures menu items for these menus, such as Help > Toggle Developer Tools.
We provide two methods in IMenuRegistry: unregisterMenuId and unregisterMenuItem. The former is used to delete a menu, while the latter is used to delete a menu item of a menu.
export abstract class IMenuRegistry {
  ...
  abstract unregisterMenuItem(menuId: MenuId | string, menuItemId: string): void;
  abstract unregisterMenuId(menuId: string): IDisposable;
}
For example, if we want to delete the Help menu item, we can use:
import {
  MenuContribution,
  IMenuRegistry,
  MenuId
} from '@opensumi/ide-core-browser/lib/menu/next';

const terminalMenuBarId = 'menubar/terminal';

@Domain(MenuContribution)
class MyMenusContribution implements MenuContribution {
  registerMenus(registry: IMenuRegistry) {
    registry.unregisterMenuId(MenuId.MenubarHelpMenu);
  }
}
If we want to delete the Toggle Developer Tools functionality from the Help menu, we need to first find the ID of this menu item, which is usually the ID of the command that the menu is supposed to execute:
import {
  MenuContribution,
  IMenuRegistry,
  MenuId
} from '@opensumi/ide-core-browser/lib/menu/next';

const terminalMenuBarId = 'menubar/terminal';

@Domain(MenuContribution)
class MyMenusContribution implements MenuContribution {
  registerMenus(registry: IMenuRegistry) {
    registry.unregisterMenuItem(
      MenuId.MenubarHelpMenu,
      'electron.toggleDevTools'
    );
  }
}
You can search for the menus that are registered internally in core by using the keyword registerMenuItem. For example, the menu items registered in Electron Basic can be found here: packages/electron-basic/src/browser/index.ts#L159
Using Icon Menus
In addition to custom menus, you can also choose to use icon menus, which display menu items in the form of icon icons.

Usage
To customize the rendering of the toolbar, you first need to use custom view,see Custom Slot 。
import { IconMenuBar } from '@opensumi/ide-menu-bar/lib/browser/menu-bar.view';

/**
 * Custom menu bar component.
 * Add a logo in here, and keep
 * opensumi's original menubar.
 */
export const MenuBarView = () => (
  <div>
    <IconMenuBar />
  </div>
);
Then call the registerMenuItems method provided by menuRegistry in MenuContribution.
Register menu items on the MenuId.IconMenubarContext context.
registerMenus(registry: IMenuRegistry) {
  menus.registerMenuItems(MenuId.IconMenubarContext, [
    {
      command: EDITOR_COMMANDS.REDO.id,
      iconClass: getIcon('up'),
      group: '1_icon_menubar',
    },
    {
      command: EDITOR_COMMANDS.UNDO.id,
      iconClass: getIcon('down'),
      group: '2_icon_menubar',
    },
  ])
}
Note: iconClass is required, otherwise icons cannot be displayed.
The group field will be automatically grouped for you, and separated by a separator | between different groups.
